
I bought my very first ever Briggs & Riley luggage 18 years ago.
It was the Baseline Domestic Carry-on Upright Two-wheeler, sporting an exterior constructed with almost indestructible ballistic nylon. At the time, I was flying internationally for work and was boarding a plane every month, sometimes even weekly.
For the next seven years, it was my constant companion as I lived the road warrior salaryman life. Notwithstanding some wearing on the leather handles, it’s still going strong to this very day.
When Briggs & Riley started making expandable bags in 2012, I upgraded to the latest model. Not because there was anything wrong with the old one, but simply because I was intrigued with their patented CX technology .
And for another seven years, my new luggage accompanied me faithfully as I racked up numerous frequent flier miles. Even after I stopped flying so frequently, it remains on active duty.
Ownership of my first bag was transferred to The Wife. But after using it for a while, it was clear that the capacity wasn’t quite enough.
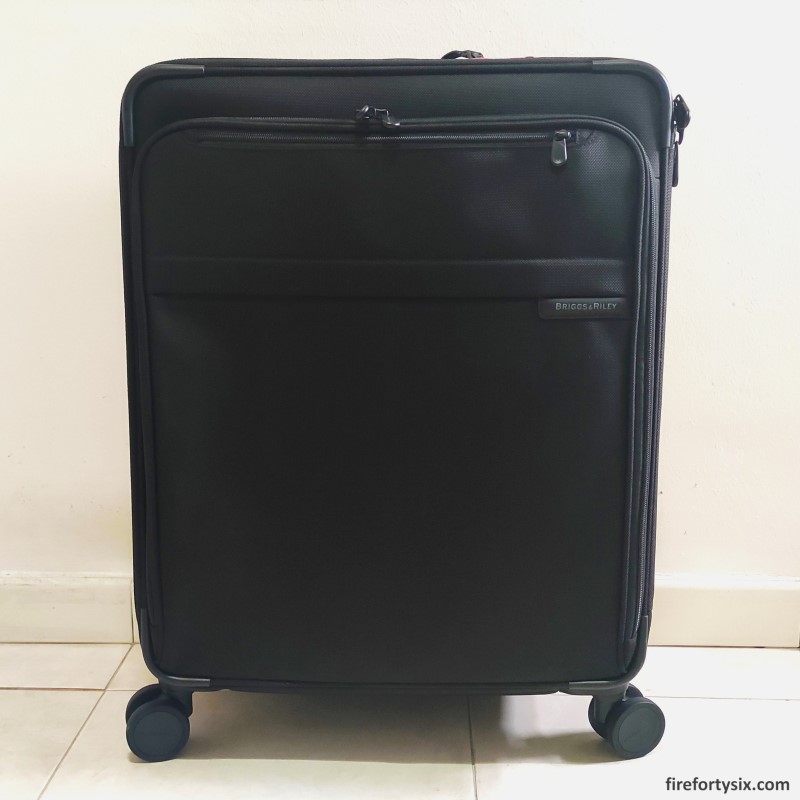
So, in anticipation of a long Europe trip, I bought a substantially roomier Baseline Medium Expandable Spinner in 2020.
But before it could be put to use, the pandemic broke out.
For the next three years, it remained in storage, patiently waiting for the day that it could take to the skies. Finally, in May this year, it made its debut as the main workhorse for our 10 day trip to Seoul.
It must have been angry at being sidelined for such a long time.
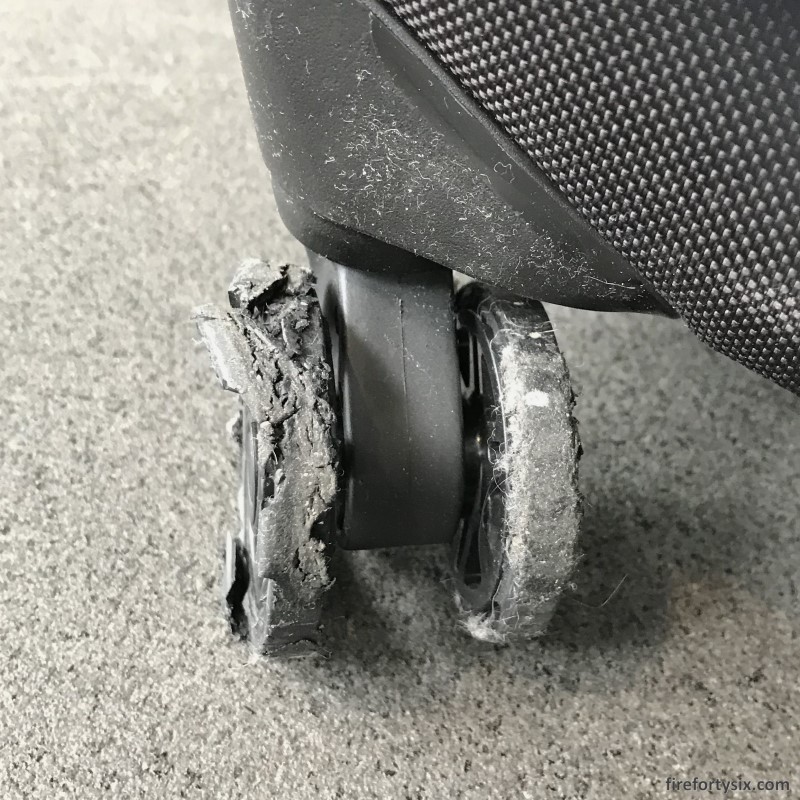
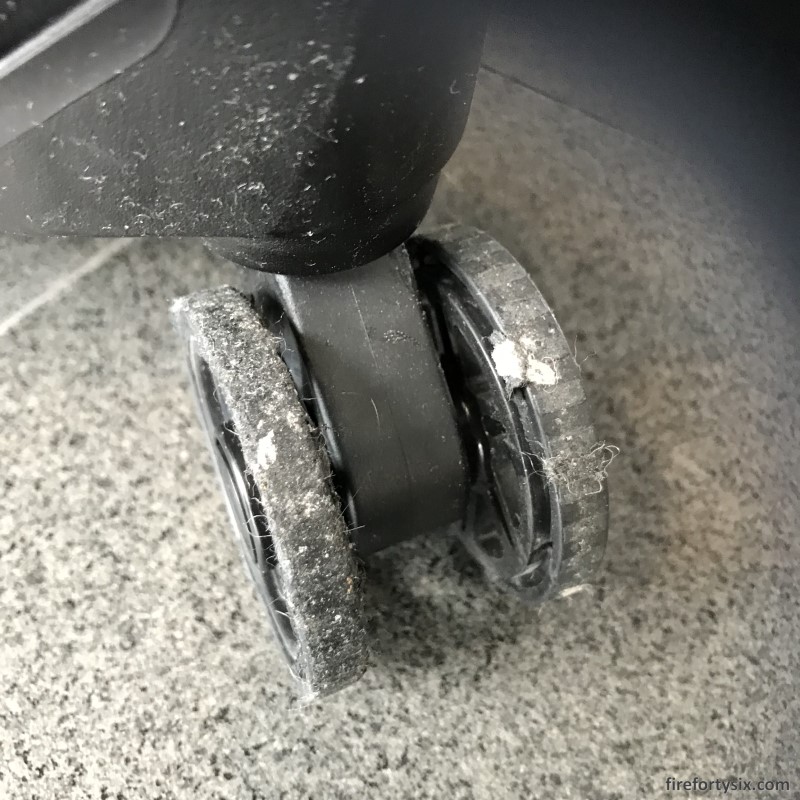
Because after we landed at Incheon Airport, transferred to the subway and rolled it towards our hotel in Hongdae, we noticed that the wheels were leaving pieces of themselves on the ground.
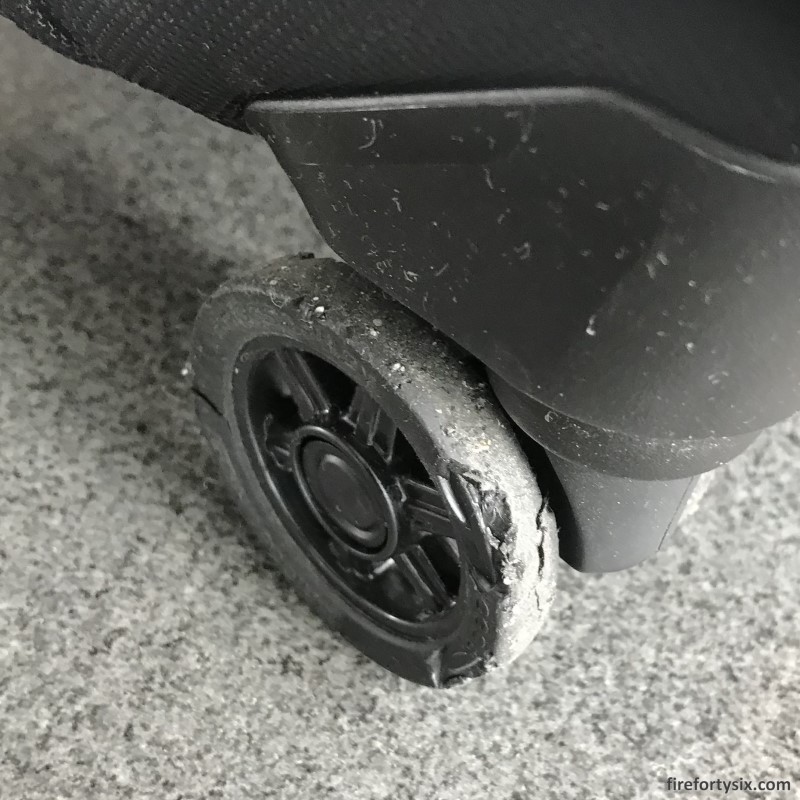
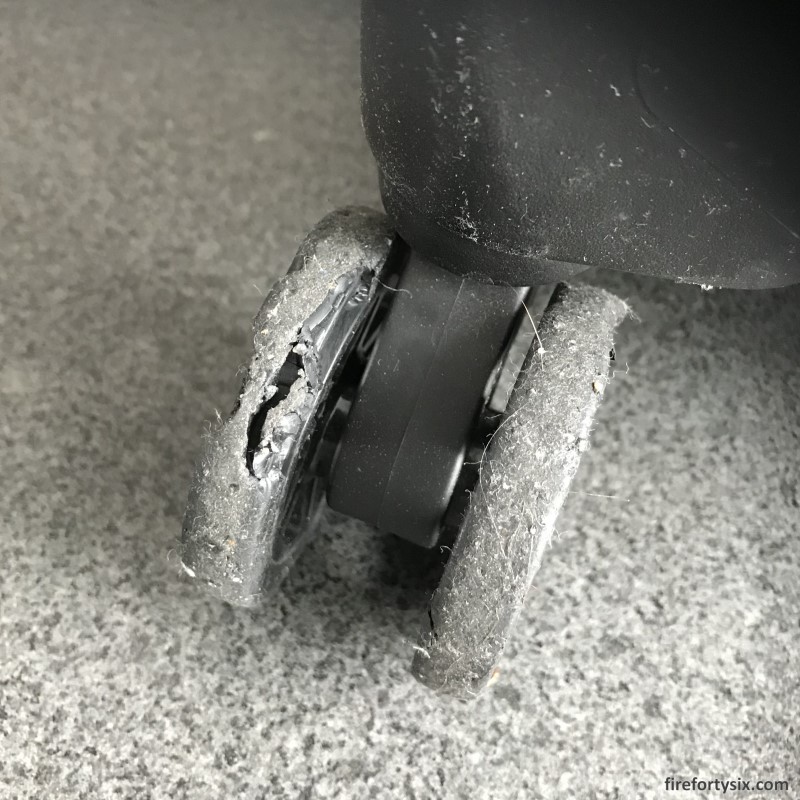
Upon closer inspection, it was clear that the rubber coating had decomposed. They were in various stages of degradation, leaving some wheels completely bare, exposing their inner plastic structure.
Upon reaching the hotel, we enlisted front desk’s help to find an authorised repair centre in Seoul. Unfortunately, there were none, not even within the entire South Korean peninsula.
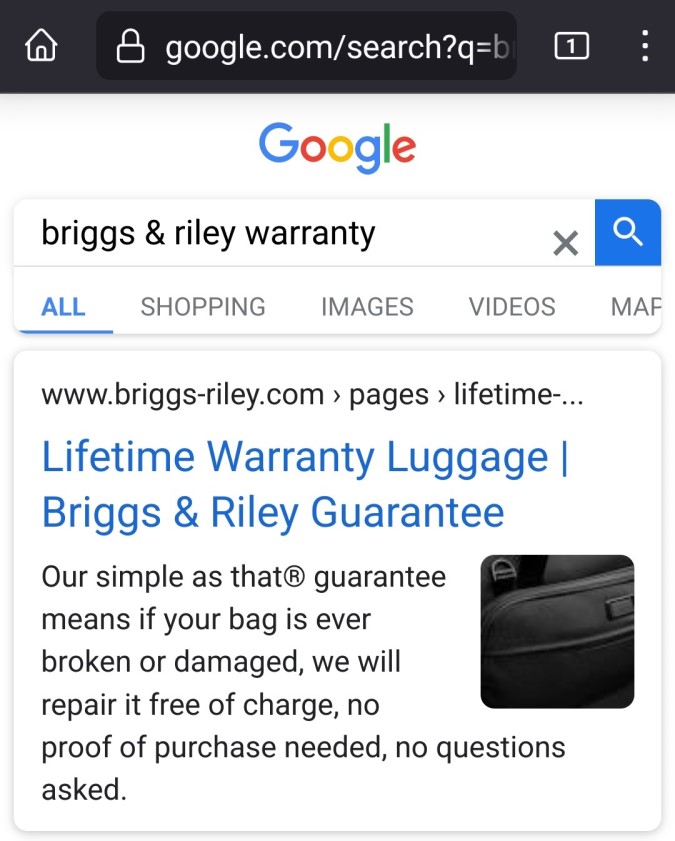
One reason for choosing Briggs & Riley almost two decades ago was their “simple as that” lifetime warranty. They pledged to repair any damage “free of charge, no proof of purchase needed, no questions asked.”
All these years, I had never needed to use their warranty. But the time had finally come to put it to the test.
I emailed customer-service@briggs-riley.com with an urgent plea for help, and got a reply from Christine Fichter, Customer Experience Representative, within seven hours.
Since there were no authorised repair centres in Seoul, this was the solution she offered:
Thank you for contacting Briggs & Riley.

We ask that you have the bag repaired locally and we will issue a credit back to your credit card for the full cost of the repair.

However, prior to contacting a local repair shop please provide some photos of the bag and where the repair is needed as we may be able to supply a "do it yourself kit" to fix the bag.

Below is the information we require in order for us to  authorize the repair:

- A written "Repair Cost Estimate" from the local repair shop imprinted with their name and address.
- Once you obtain this, please e-mail it to customer-service@briggs-riley.com and if you need any parts, let us know where you would like it sent
- Once the estimate is approved and necessary parts have been shipped, you will receive an e-mail to proceed with the repair.
- Upon completion of the repair, please send us a copy of the detailed receipt from the repair shop.

You will then be contacted for your credit card information. Once that is received we will credit your account.
Given the circumstances, I thought that it was a practical solution that lived up to their claim of a “simple as that” warranty. They didn’t ask any questions, didn’t request for any receipt and would fully cover the repair cost.
However, since we didn’t speak Korean, communicating with an ajusshi running a local luggage repair shop felt too daunting to attempt.
It seemed to me that the wheels, damaged as they were, could last until we got back to Singapore. I figured that we could take a cab when changing hotels in Seoul, then catch the direct airport bus back to Incheon International.
I replied to Christine asking if they had a repair centre in Singapore, and thankfully, she replied that there was and provided its name and address. When I double-checked it online, I noticed that not all repair shops were the same.

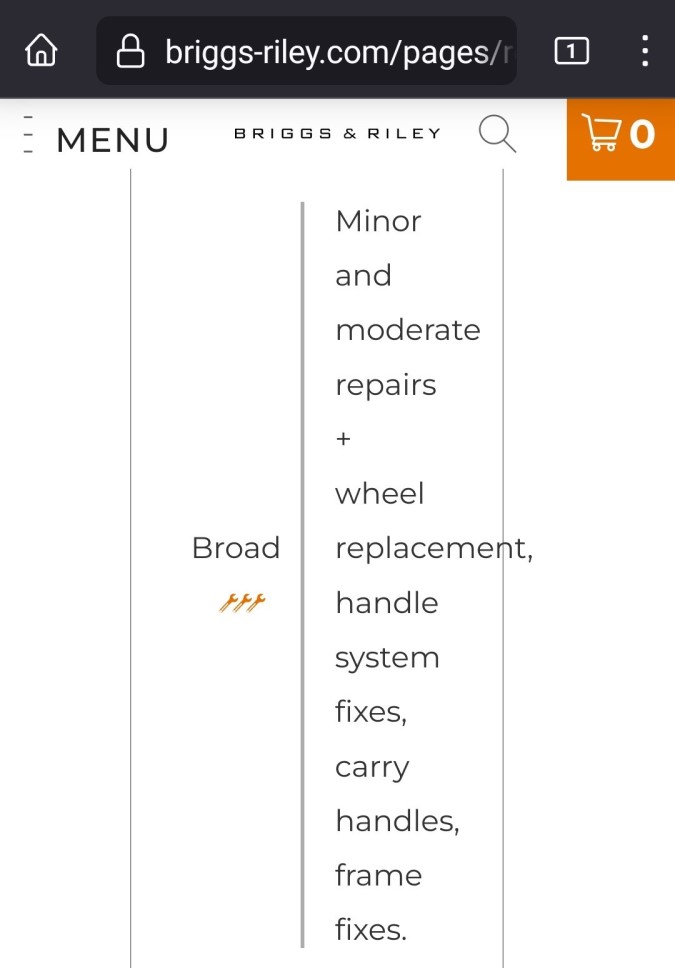
The one and only repair centre in Singapore was rated as “Moderate: 2 Spanners”, and could only undertake moderate fixes. Unfortunately, that didn’t include wheel replacements, which required a “Broad: 3 Spanners” shop.

I pointed this out to Christine and requested for a “do it yourself kit” to be mailed to me instead.
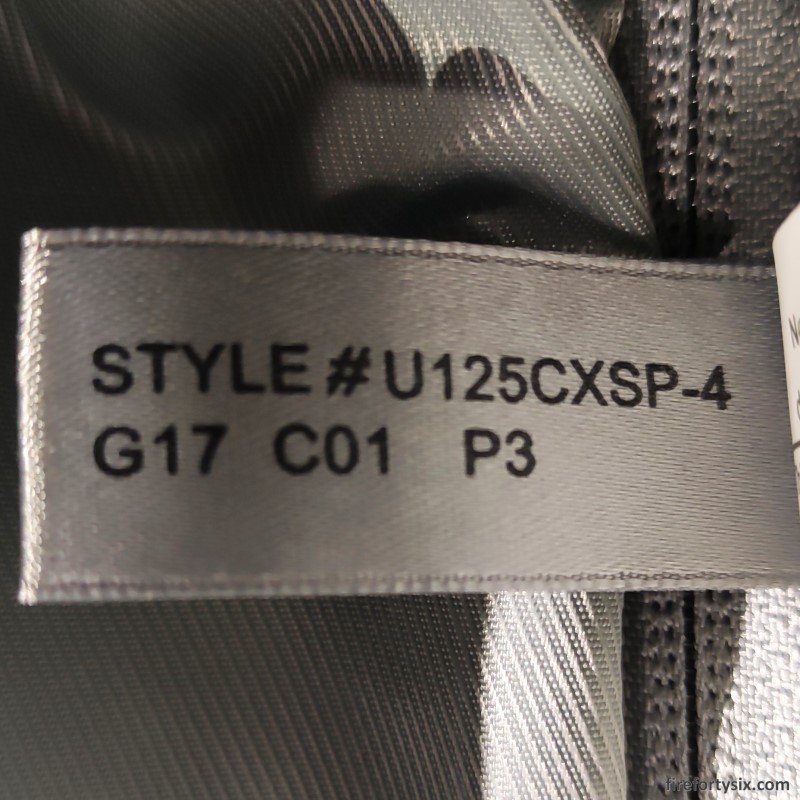
She promptly agreed and asked for a valid shipping address and phone number, as well as the style number of my luggage, which was printed on a tag sewn onto the bag.
One week after we got home, I emailed her the information and received an email from FedEx with a tracking number. It was fun checking it daily to see where my new wheels were at any given time.

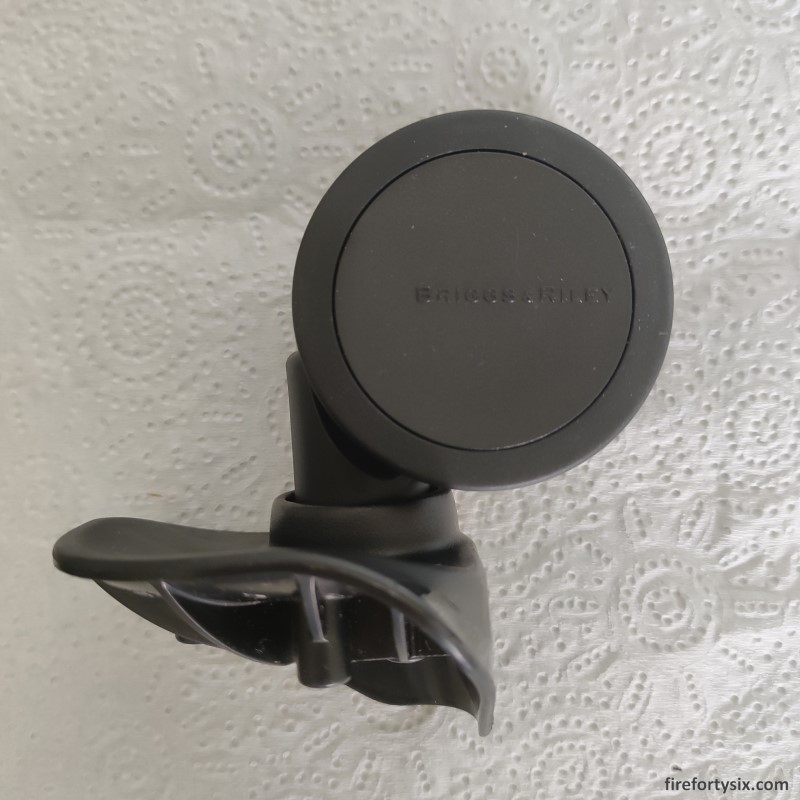
Less than a week later, my package arrived. Four brand new Briggs & Riley wheels, together with printed instructions for the DIY Repair Kit.
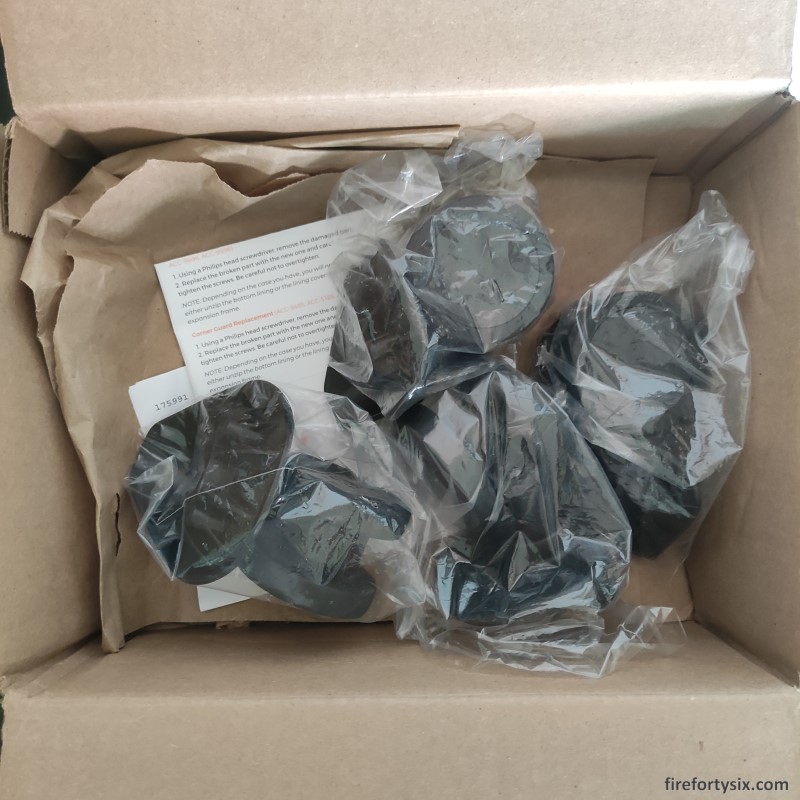

The instructions were clear and easy to follow, with specific steps for different types of repairs. From wheels to zipper pulls to handles to feet and corner guards.
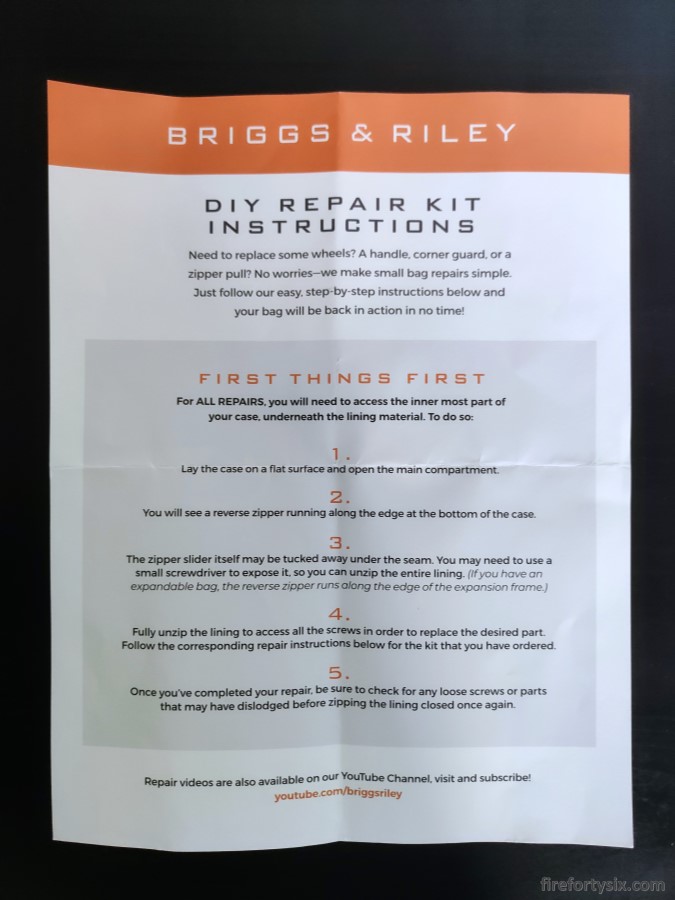

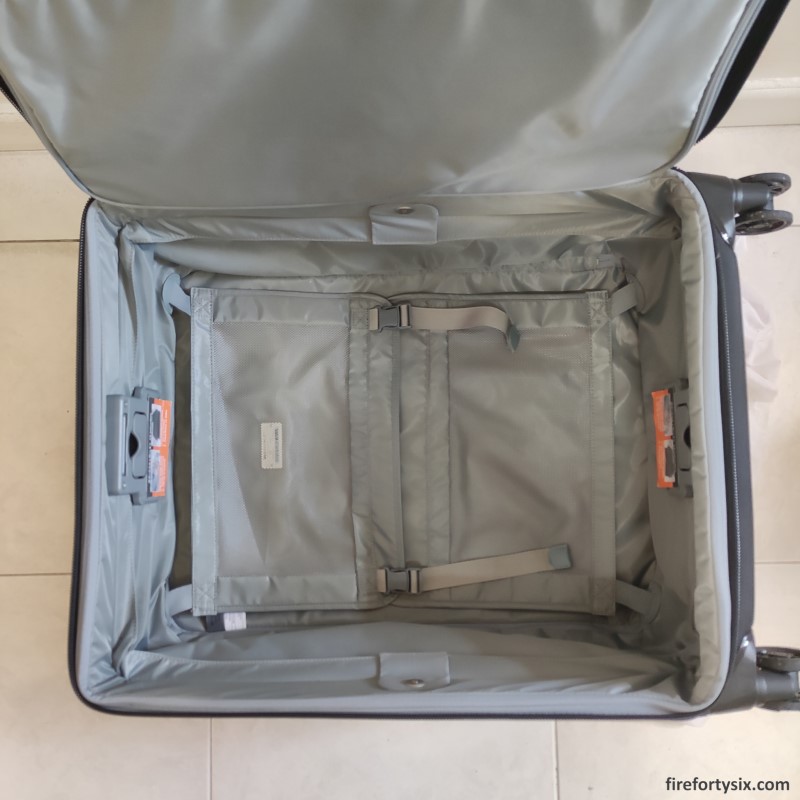
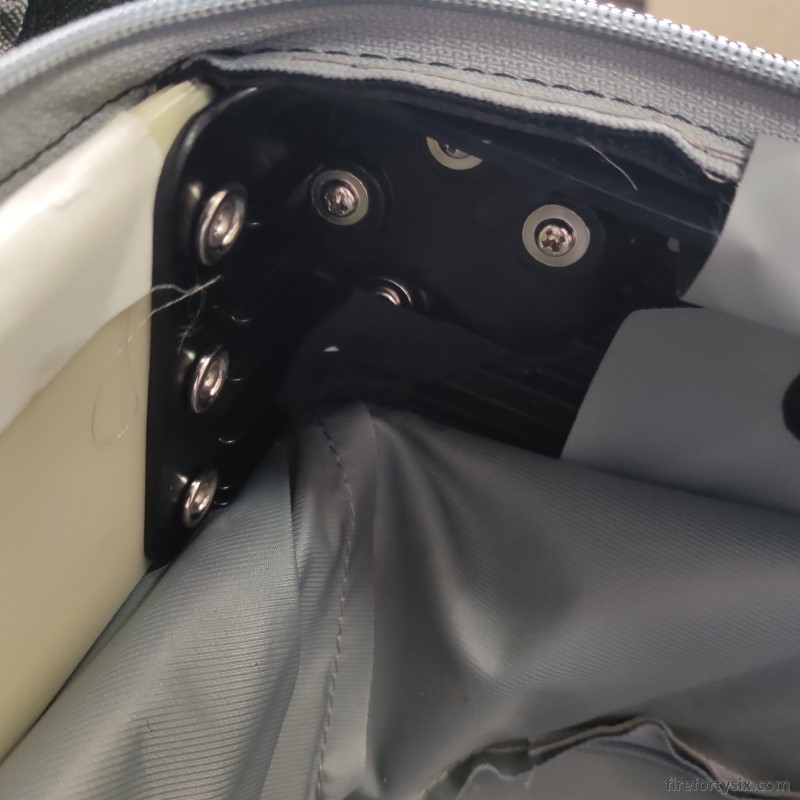
First things first, I had to access the innards of the luggage by unzipping the lining.
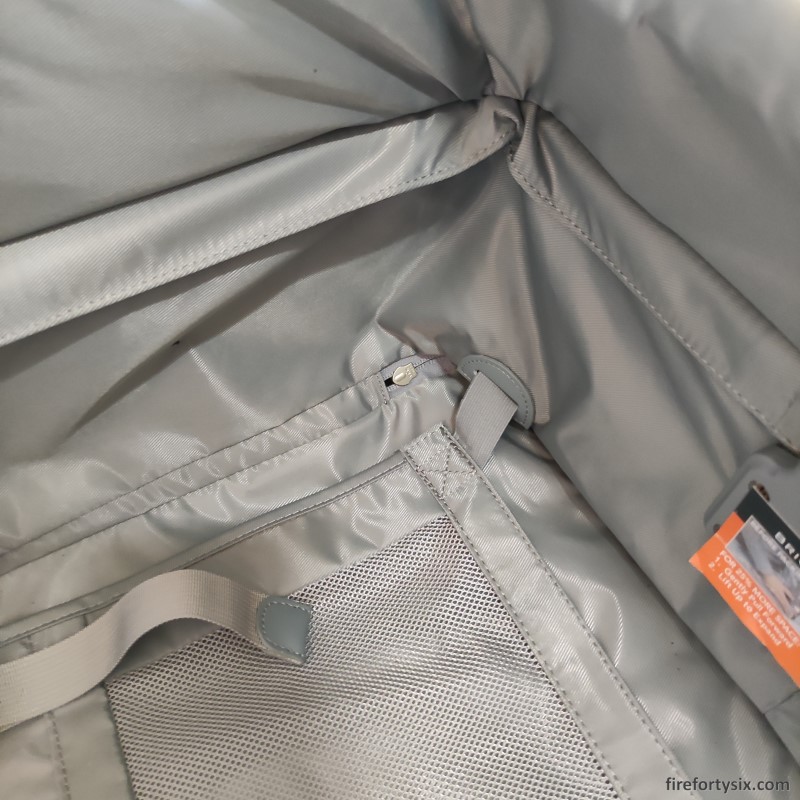
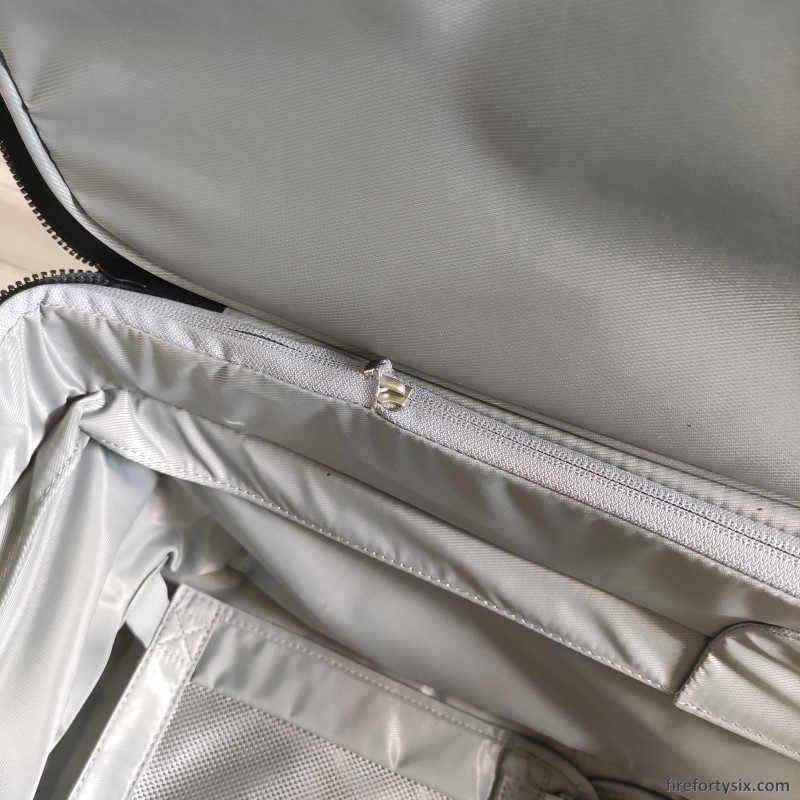
The reverse zipper that secured it was tucked away under the seam, and I had to expose it by slowing wriggling it out.
After revealing the inner structure, the screws securing each wheel to their respective metal support frames were accessible.


Here’s a close-up photo of the four Philips head screws that had to be removed so that the wheels could be replaced.

The same process was repeated for the upper lining.
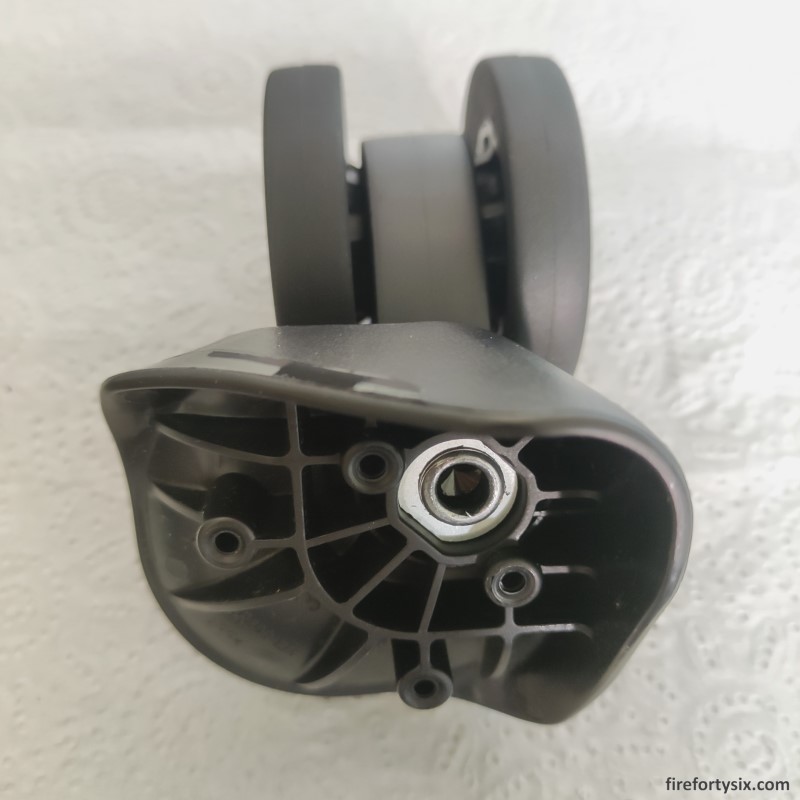
Unscrewing the wheels was straightforward, and I quickly detached all four. The rubber coatings were in advanced stages of decay, though the inner plastic structures looked fine.
If push had come to shove while we were still overseas, I believe they would have still carried the load and returned safely. Though without a proper external rubber surface, grip would have been severely compromised.
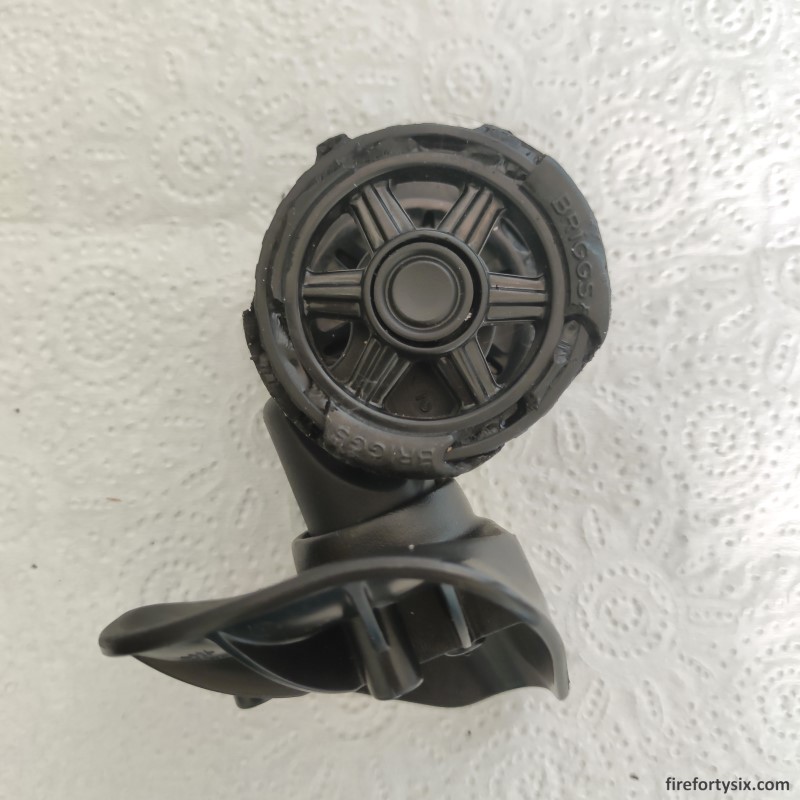
The new wheels had a different design, with the inner spokes now concealed under a hub cap. The material used for the rubber coating also seemed to be slightly firmer.
It could have been a response to the problem I faced, which must have affected many other bags as well.
After about half and hour, all four wheels had been replaced and both top and bottom inner linings were zipped. I took it for a short “walk” around the room, and the wheels were really smooth, as they should be.
Our Medium Expandable Spinner was now right as rain, ready to join us on our next trip. I’m cautiously optimistic that we won’t face any further issues anytime soon.
In this day and age of inflated marketing promises that frequently do not live up to expectations, it’s refreshing to see a company that does it right.
Briggs & Riley, you have a customer in me for life. You’ve been a reliable companion for the past 18 years, and I’m sure you’ll continue to be with us for the next 18 and more.